
~~ 3D Modeling, Rigging, and Animation ~~
Animation Reel
Created 2026
This is the 2026 version of my animation reel, updated to feature my strongest work to date. It includes the character model, rig, and animations I created for my team's senior capstone film, "An Unfurgettable Night."
Welcome to my site!
Welcome to my portfolio. This website was created by me, Kelby Stotz, to showcase my work in 3D modeling, rigging, and animation. As a recent graduate with a degree in animation, I am seeking opportunities where I can contribute my creative and technical skills while continuing to grow as an artist. If you are interested in discussing employment opportunities, please email me.
If you scroll down, you can see my featured artwork. My most recent work appears at the top, followed by earlier projects that show the development of my skills over time.
Video content notice: Videos may default to a lower resolution to improve loading times, but the quality can be adjusted using the gear icon; all video content is available in 1080p. Furthermore, my website is not yet optimized for mobile, and videos may not load correctly.
~~ Featured Art ~~
My Shots from "An Unfurgettable Night"
Created 2026
These are selected shots that I animated for "An Unfurgettable Night," my senior capstone film project. The clips represent my strongest work and reflect my current animation skill. I animated the character, Cat Plush, with a stylized, exaggerated approach designed to support the film’s cartoon-inspired movement.
Cat Plush Model and Rig
Created 2026
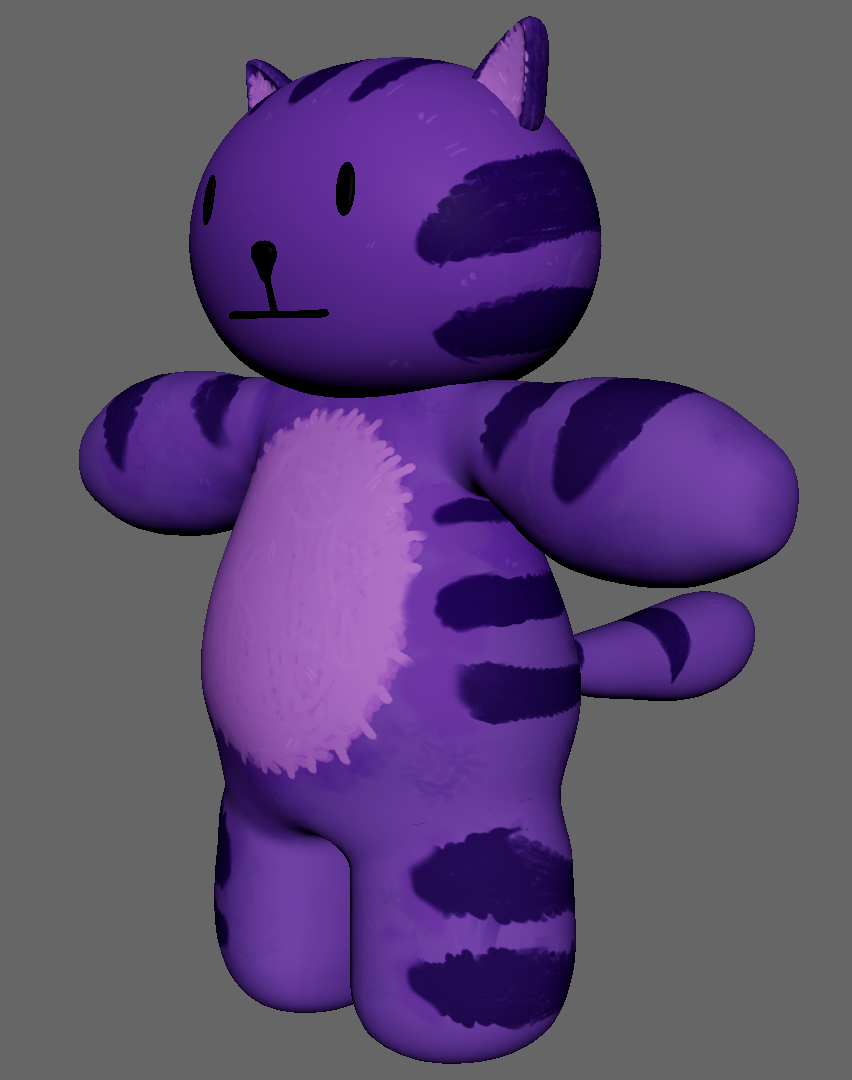
This is the main character in "An Unfurgettable Night." I created the model and rig from scratch in Autodesk Maya. The character’s design and textures were primarily developed by Grace Johnson, with minor revisions from me.
Topology
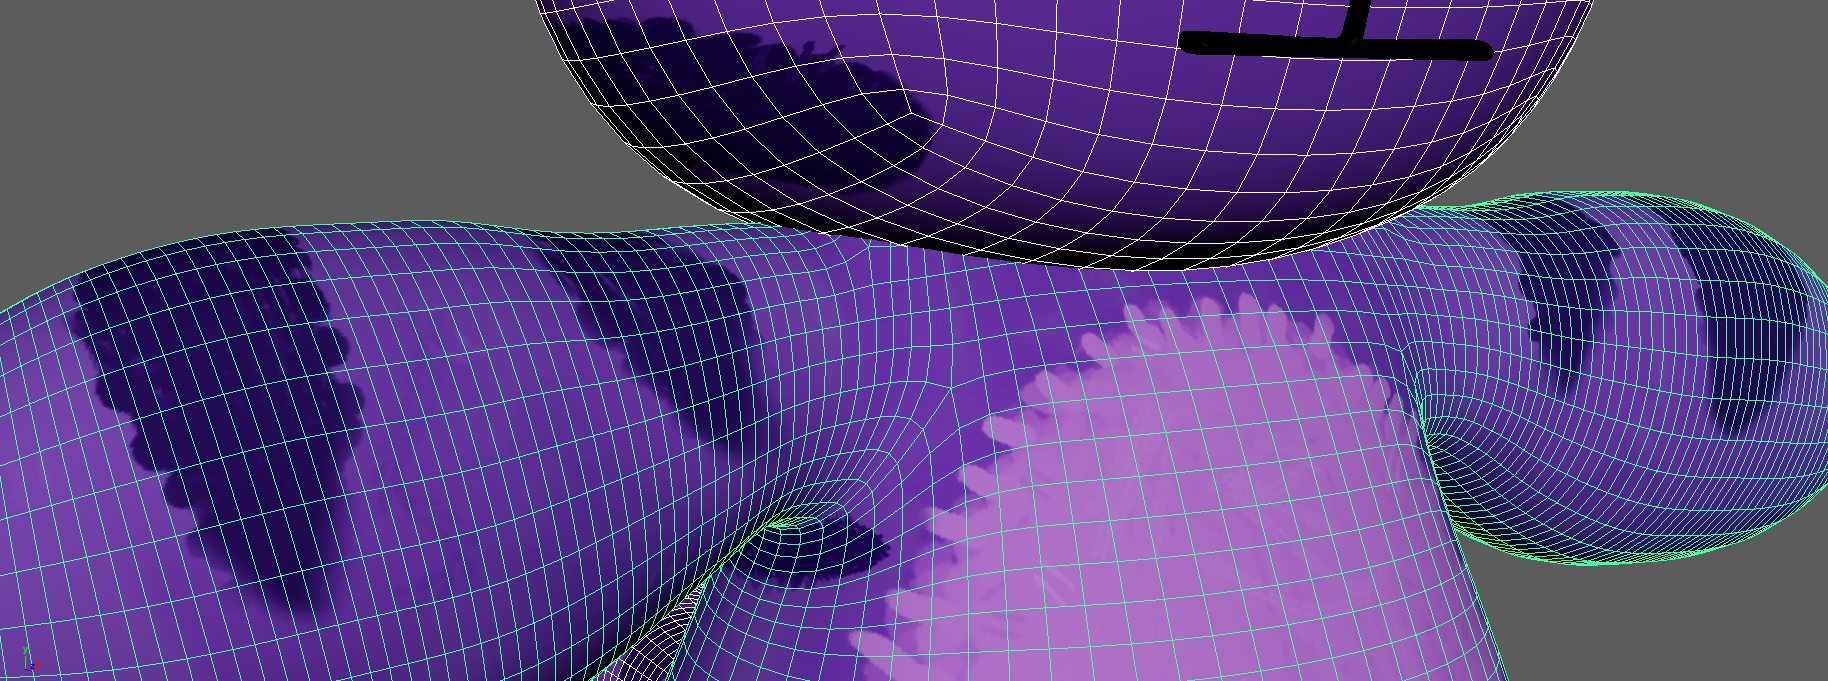
The image above shows the character’s topology. I used exclusively quad faces, and nearly every vertex is connected to exactly four edges for edge flow; I did this intentionally to support cleaner deformations during animation. Additionally, the spacing of edge loops is also intentional; in an area where lots of movement is expected (such as the armpit), there are extra edge loops to allow for intricate motion. On the arm and torso, however, the edge loops are evenly spaced to allow these parts to bend in a rubber hose style.
Rig
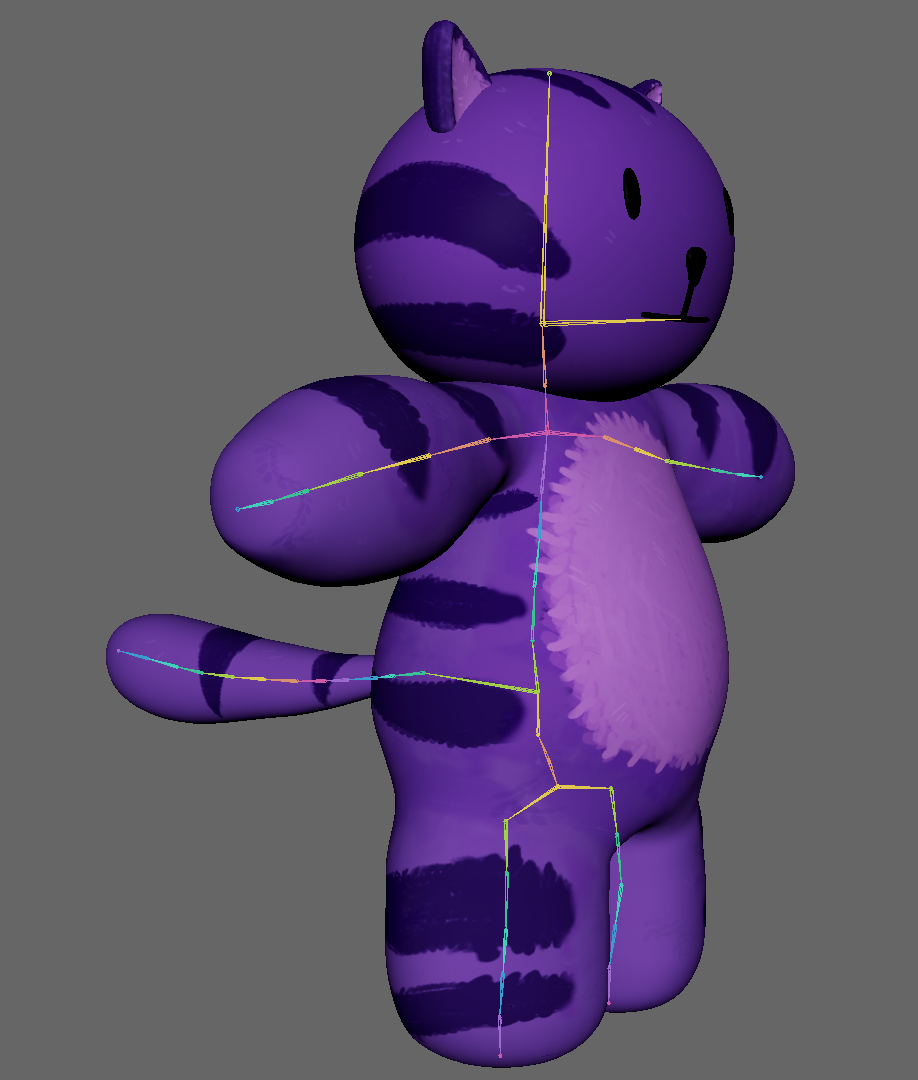
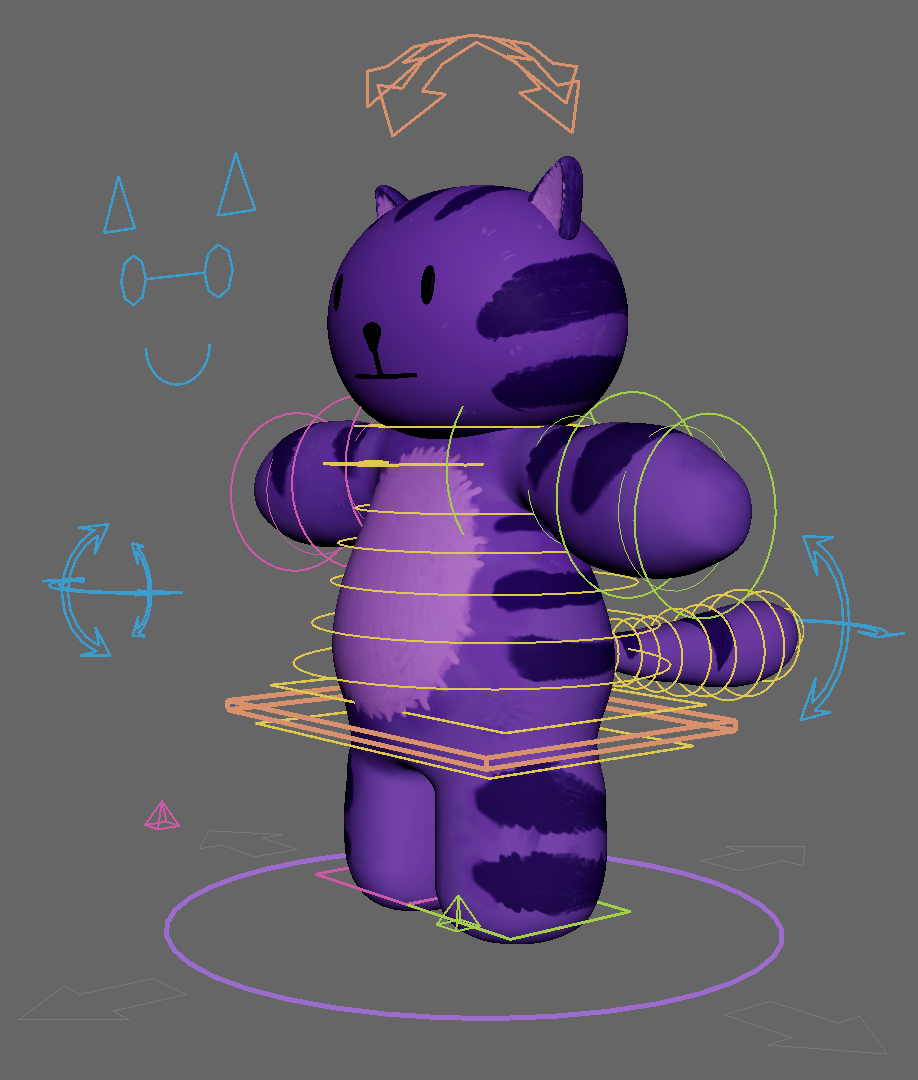
This was the first full-body character rig I created. During development, I studied established rigging practices and applied those techniques to build a rig that supported the animation requirements of the project. The experience I gained during this project has strengthened my rigging workflow and will allow me to approach future character rigs more efficiently.
In the left image, you can see the rig's skeleton. For the arms and legs, I used five joints each, as opposed to the typical three (shoulder, elbow, wrist; hip, knee, ankle). Again, this was done to allow for bendier, exaggerated movement. Initially, I was unsure of this decision, so the two extra joints are placed in-line with the three main ones; this allows a limb to be controlled by just the main joints without being affected by the extra ones. In the final animation, however, the extra joints proved very useful.
In the right image, you can see the rig's controls. They're a little messy, but I didn't want anything hidden from the other animators. First, each individual arm and leg can be toggled between FK and IK; in the image, the arms are set to FK while the legs are set to IK. Next, the spine and tail both have SDK controls (represented by blue arrows), which will animate the entire spine/tail. Instead of rotating every joint for each keyframe, you can instead rotate them all at once. The mouth is made of many small joints to allow for specific poses; they're hidden in the image. Finally, the ears, eyes, and mouth are all controlled using blendshape deformers. The eyes and mouth bend to fit the curvature of the head, the eyes squash and stretch to allow for blinking and facial expressions, and the ears bend forwards and backwards for more believable movements.
Mouse Character Model
Created 2025
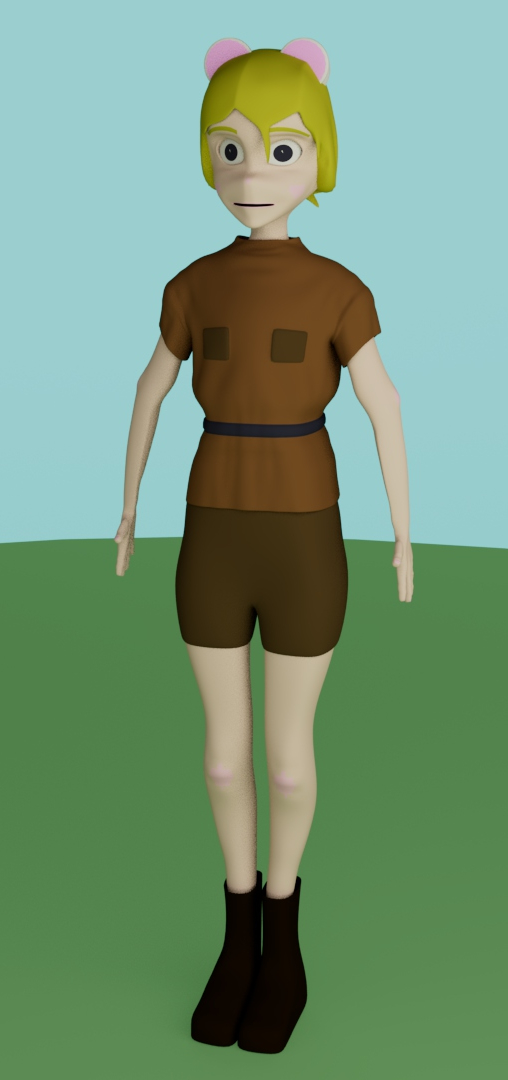
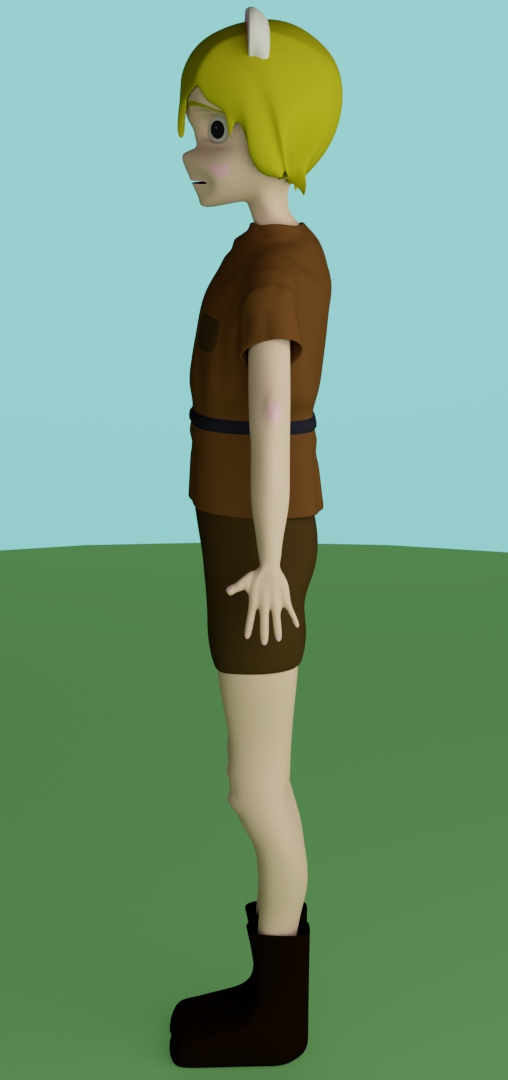
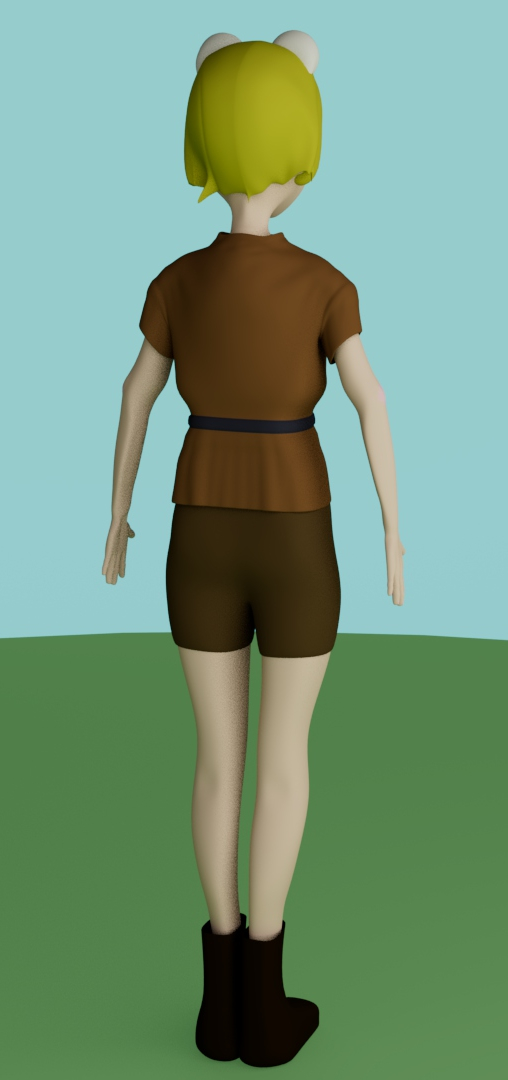
I created this character in Maya for MSUM's 3D Modeling course. I designed the topology and edge flow (e.g. a raccoon mask) to support character rigging, with strategically placed edge loops around areas of heavy movement. Cloth simulation was used for the character's shirt. The model is untextured, allowing the form, topology, and modeling decisions to remain the focus of the project.
As my first character model, I was very proud of it when I completed it in 2025, and I remain proud of the foundation it represents. Comparing it with the Cat Plush character I created in 2026 shows how significantly my character-modeling skills developed during my final year of study.
M16 Prop Model
Created 2025
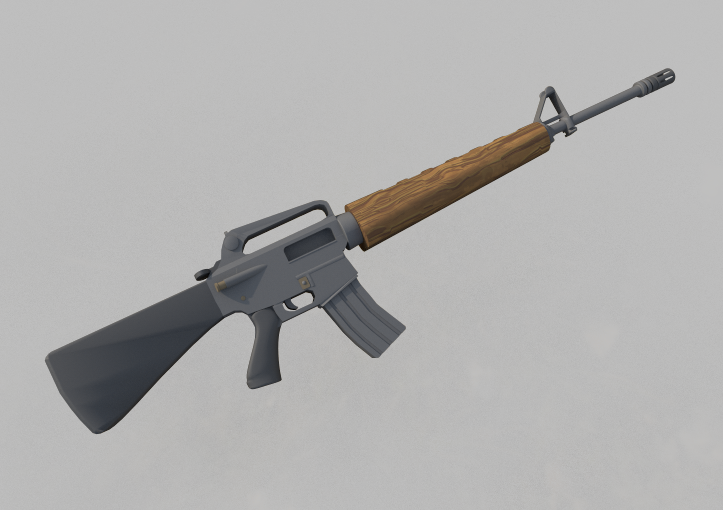
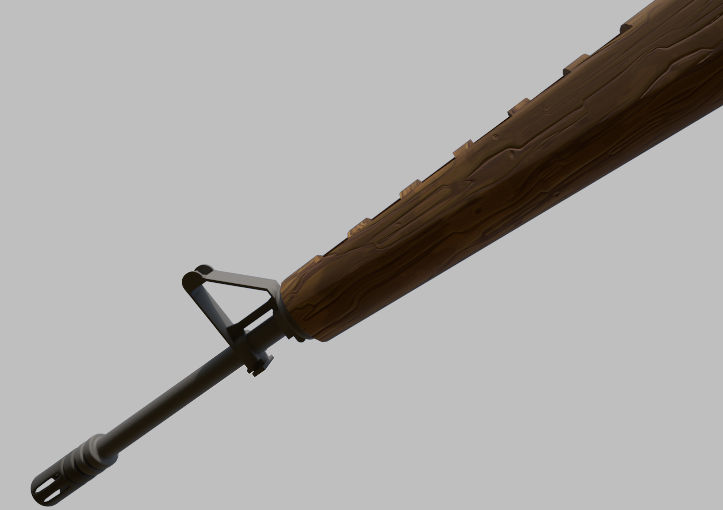
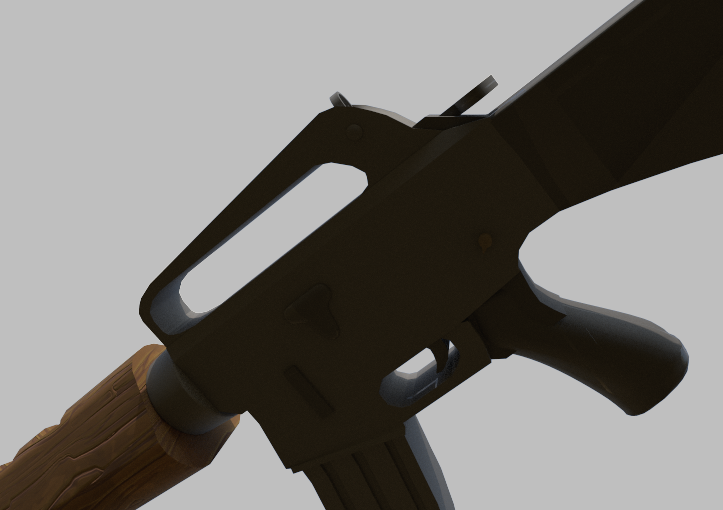
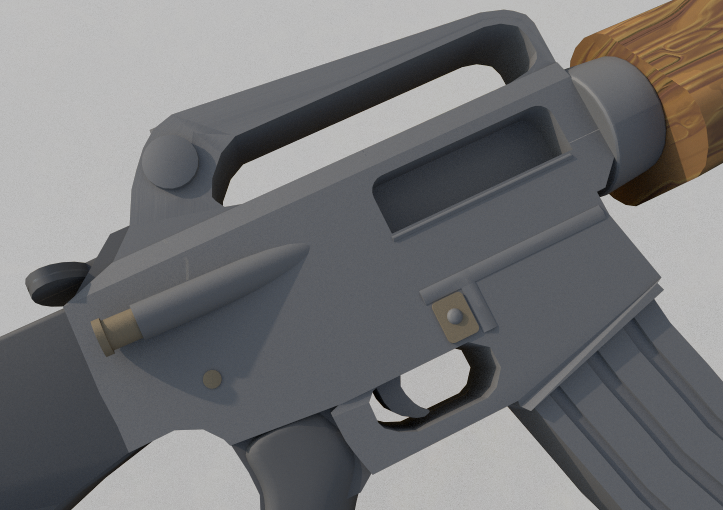
I created this model for MSUM's 3D Modeling course. I chose to model a realistic rifle due to the complexity that the task demanded. I used reference diagrams to study the object’s proportions and reproduce its structure and details.
After completing the model in Maya, I created a custom texture in Adobe Substance 3D Painter. This required me to create the model's UV map. I utilized a wooden material for the handguard to add contrast to the model.
Still Life Render
Created 2025
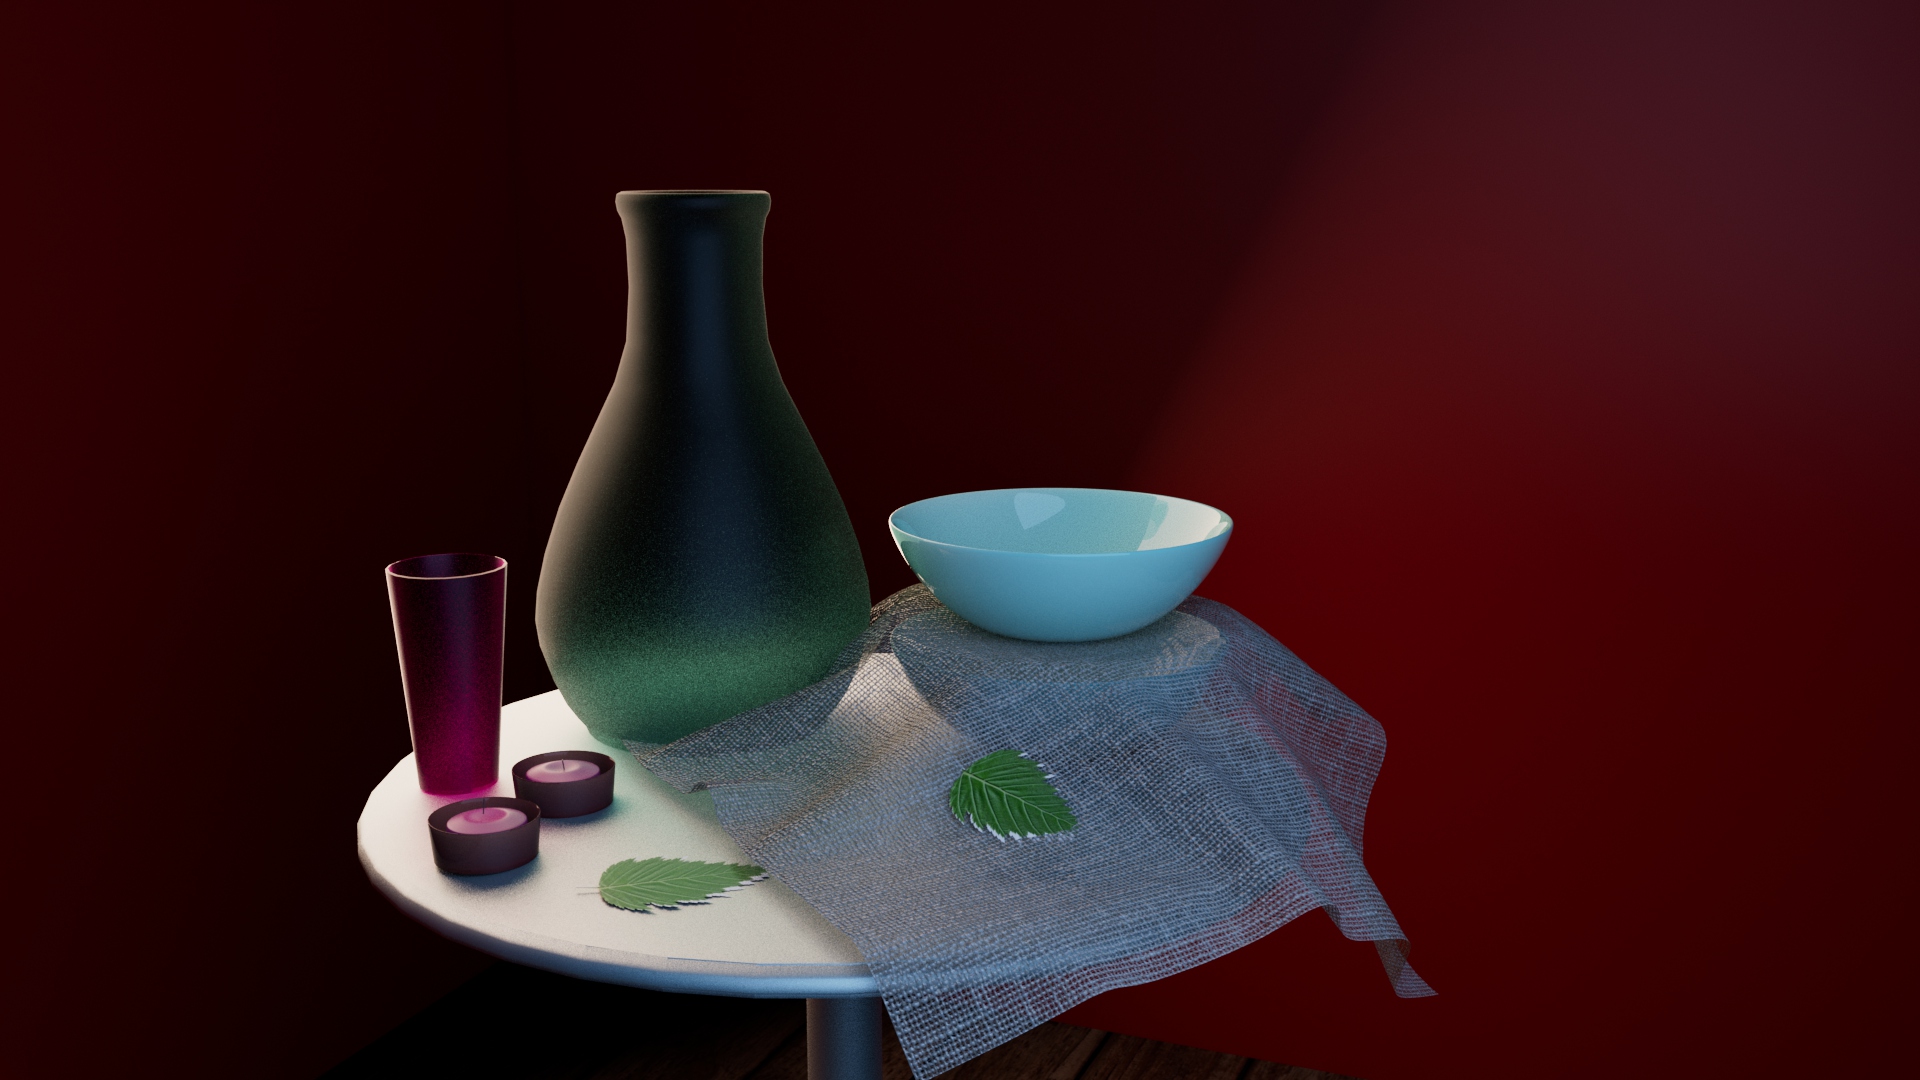
I completed this still life scene as a texturing assignment for MSUM's 3D modeling course. The models were provided for me, allowing me to focus on creating and applying materials. My artistic decisions differentiate the properties of the various objects, and support an overall satisfying composition. I developed the materials using Arnold's AISS, including the materials' specular, transmission, and subsurface scattering parameters.
Table Lighting Study
Created 2025
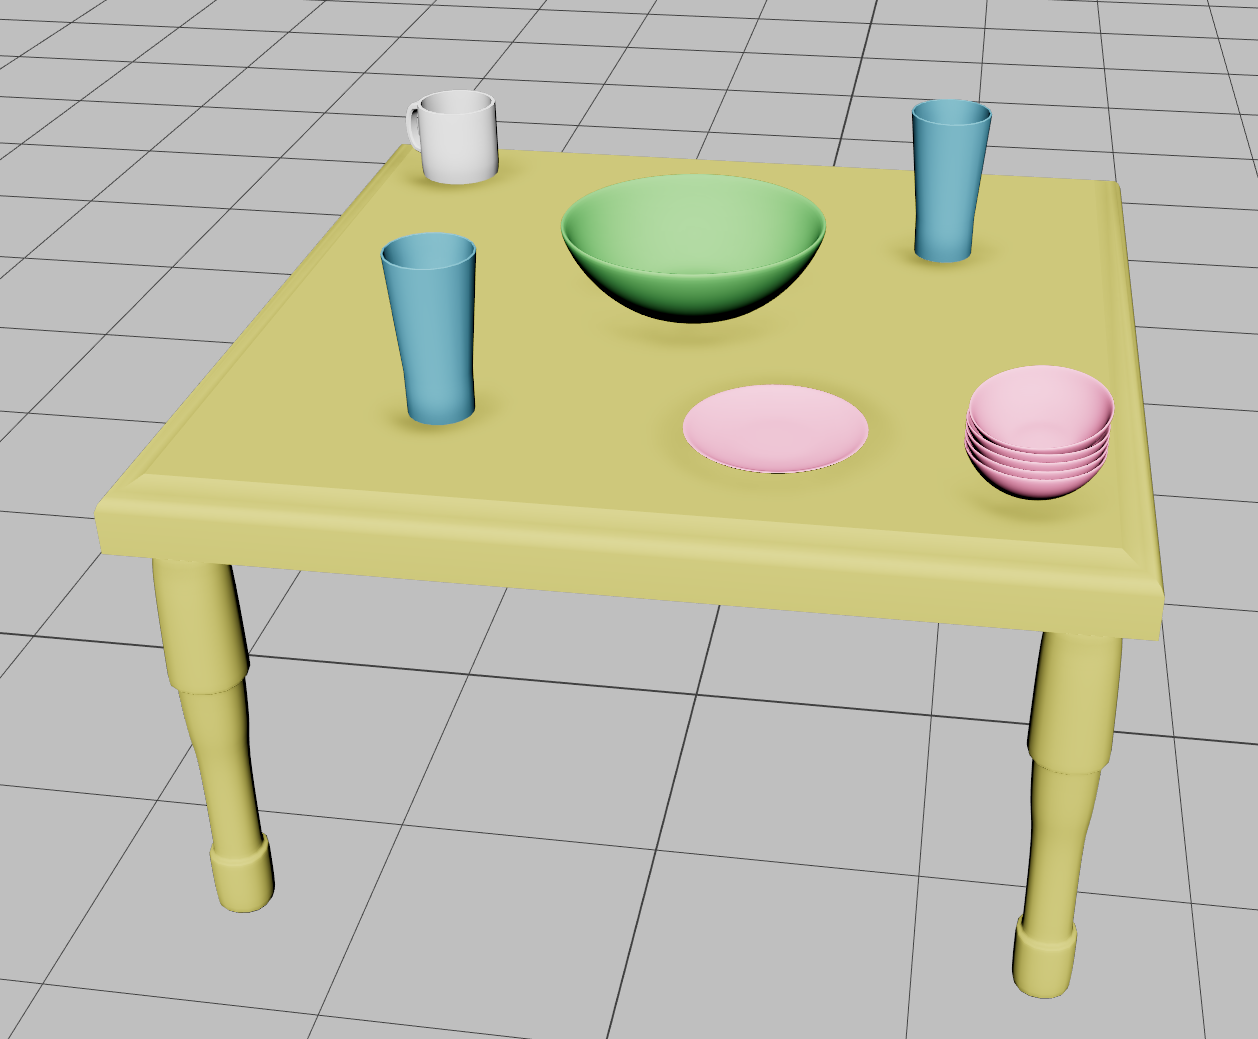
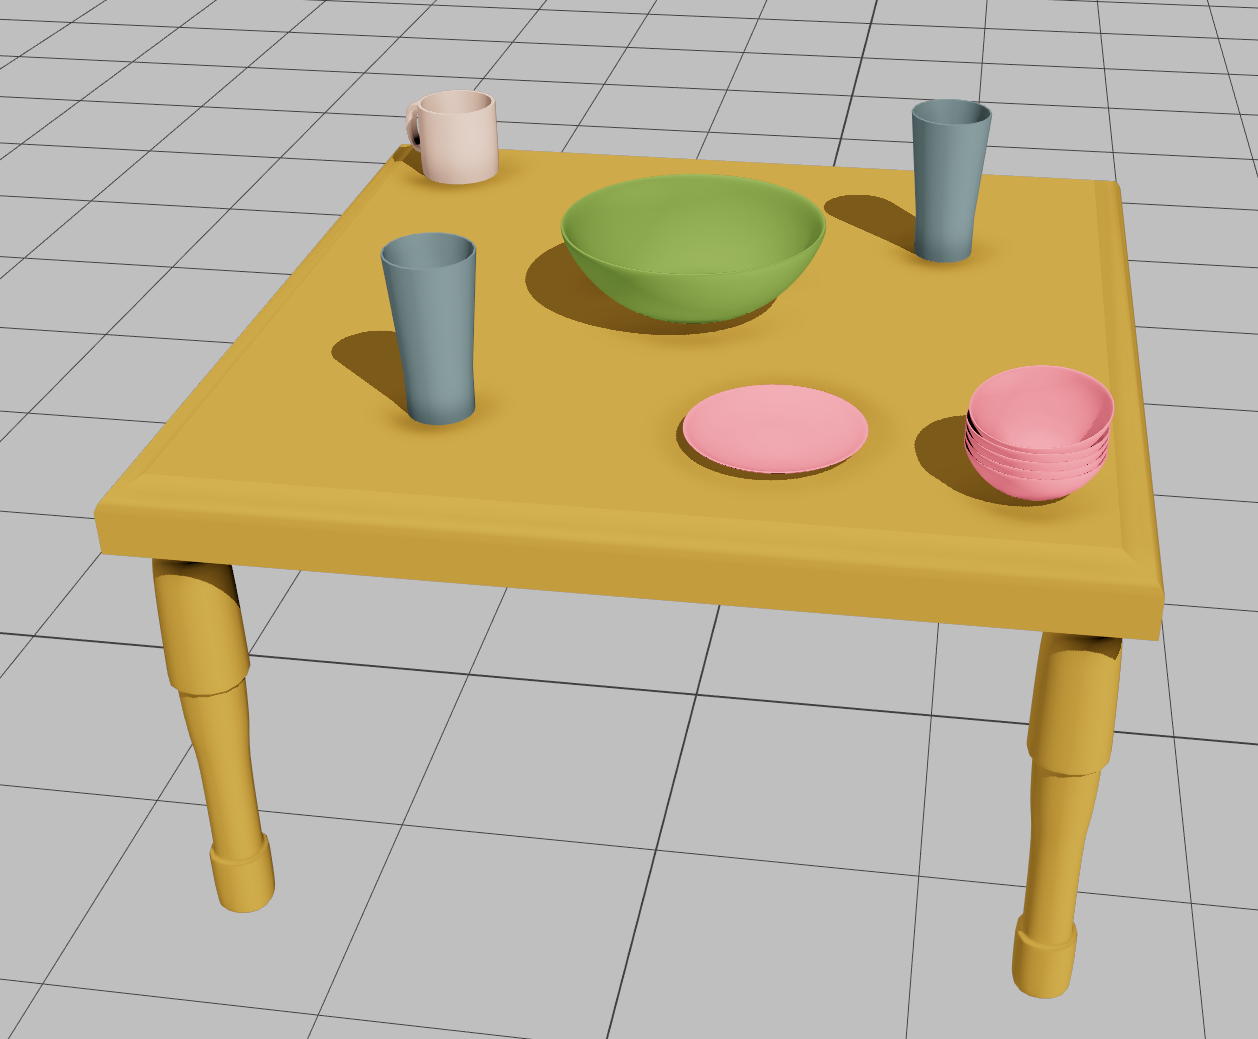
I created this independent lighting study in Maya using Arnold lights to explore how different lighting approaches affect the perceived environment. The scene uses intentionally simple models and materials, so the lighting remains the primary focus. On the right, you can see a lighting system meant to represent sunshine; the lighting is warm, the fill lights are bright, and the shadows are strong. Each object has a single shadow, and all the shadows point in a uniform direction, suggesting a singular source. Finally, there's an additional light below the scene to simulate bounce light.
"The Box" Animation
Created 2024
I created this short animation in Maya as the final project for MSUM's 3D Animation course. My goal was to communicate a comedic tone through character acting, staging, and timing without relying on audio. I sketched a storyboard, modeled the revolver prop and environment, and animated the scene. The character models were provided and were not created by me.
This project gave me the opportunity to explore expressive poses and visual storytelling. It also helped me identify areas I wanted to improve, such as stylized and exaggerated character movement.
"Flour Sack" Animation
Created 2024
Try enabling the loop option in the video player!
I created this animation in Maya for MSUM's 3D Animation course. The goal was to make the flour sack move in a believable way by demonstrating weight, anticipation, squash and stretch, and personality. The model and rig were created by Joe Daniels.
"Sneaky Walk Cycle" Animation
Created 2024
Try enabling the loop option in the video player!
I created this walk cycle in Maya for MSUM's 3D Animation course. The goal was to animate a walk cycle that both demonstrated an understanding of weight distribution and communicated character personality. I chose to animate a sneaky character, and worked to balance exaggerated poses with realistic movement.